Start Payroll
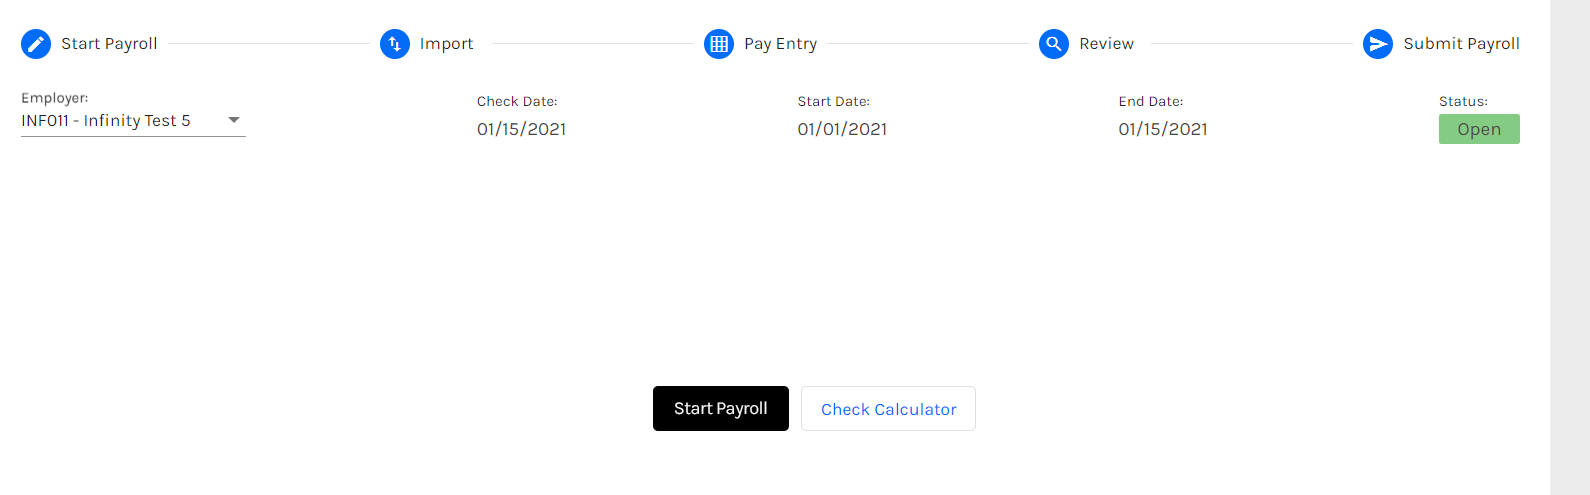
When you first arrive, you will see the buttons Start Payroll and Check Calculator if you have not yet started payroll.
Start Payroll will begin the payroll process, while Check Calculator is used for creating checks manually. Such as when you need to print a check for an employee's last day. For more information on creating a check manually, please refer to the following section: Check Calculator
Clicking start payroll will present a confirmation modal to see if they want to start their payroll for the given check date.
Import
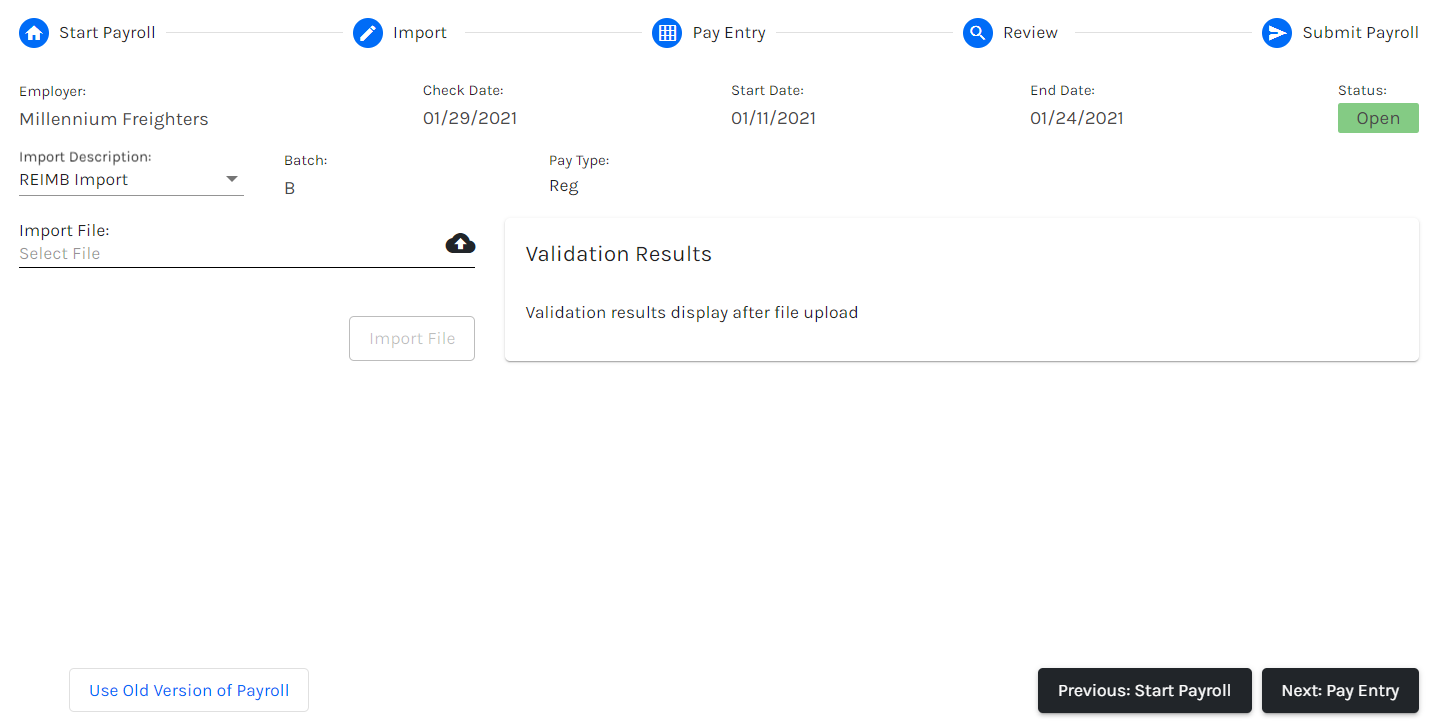
If your company is using the "Import" step, you will be able to select the type of batch to import your paycheck data. To import time, you will:
- Select the batch that you want to do, e.g. REIMB Import or Time Import, then upload the file. Batches are determined inside Millennium so they have their standard weekly payroll batch.

- Select the .txt/.csv file to upload.
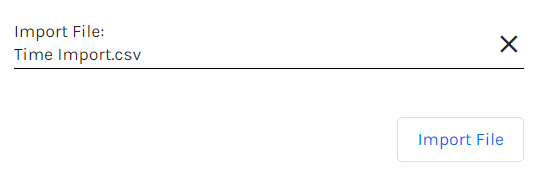
- Click Import File.
- After importing the file, it will give you validation results and post all the data into the pay entry grid.

Exporting Time Files
If you are using the Arcoro Core HR Time and Labor Management products (Time & Attendance and/or Time Off), you may need to export time from Arcoro Core HR to import into the Payroll grid. To Export the Time files, you will:
- Navigate to Data > Exports > Manage
- Click on the appropriate Payroll Time Export File under Data > Exports > Manage
- In the ‘Properties’ Tab, update the Effective Date and End Date fields to match the Start and End dates of the Pay Period they wish to export data for.
- Click ‘Save’
- After it saves, click ‘Execute Data Export’
- After the file executes, navigate to the ‘History’ tab and find the executed file
- Open the file and save the file down to their preferred location.
- Proceed to Import Time files for steps on how to import this file into the EZPay Payroll grid
Pay Entry
Batch View
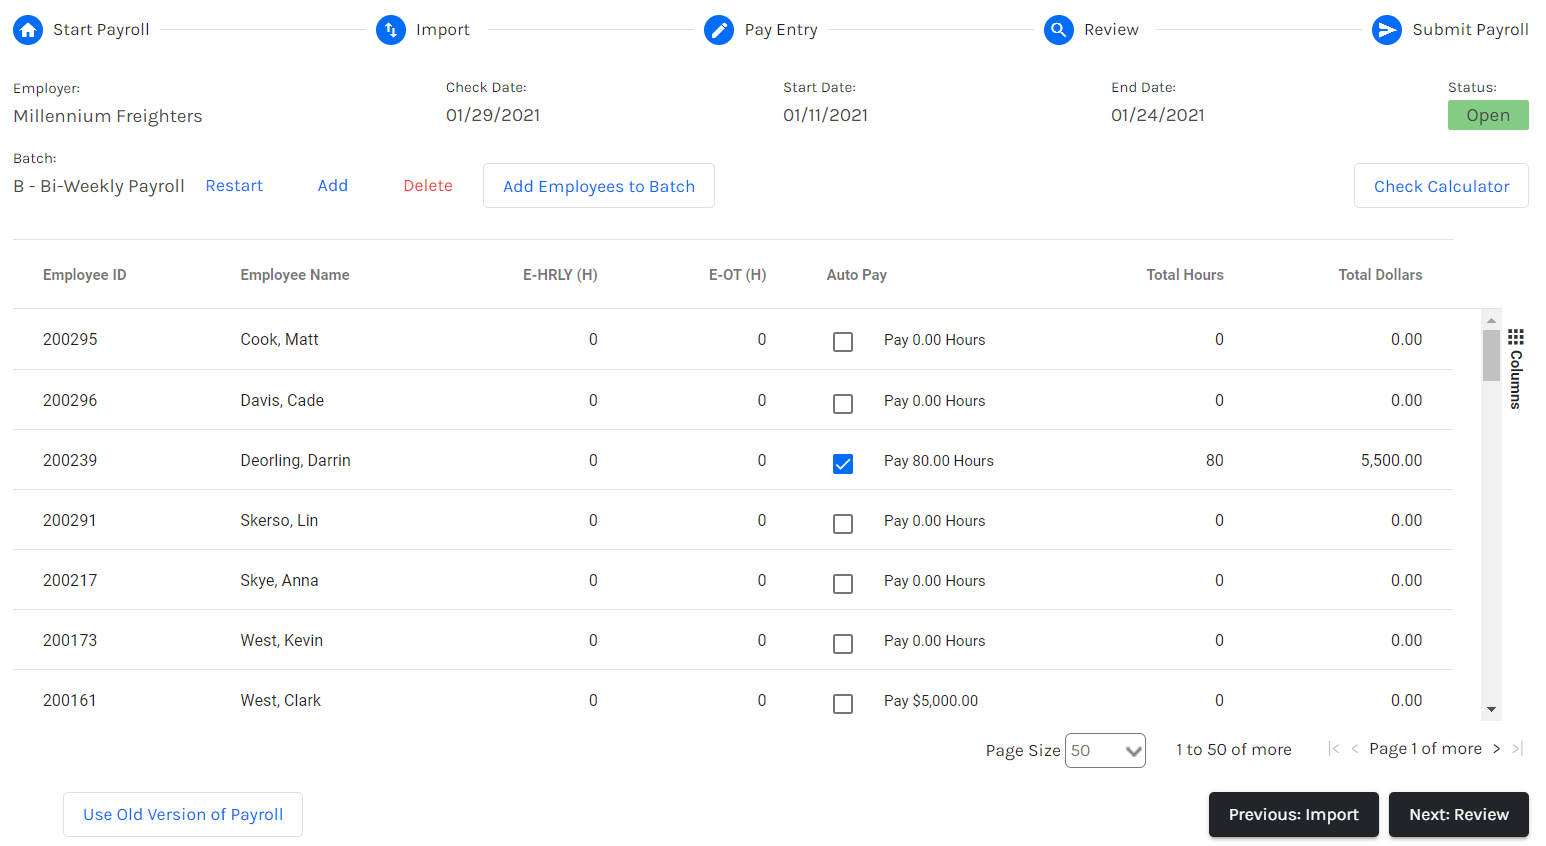
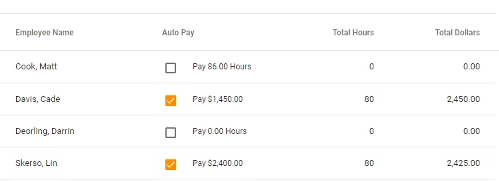
The batch view allows you to view and enter the payroll data for multiple employees. Any information entered from the batch entry view will carry into the detail entry view and vice-versa.
![]()
At the top of the payroll grid beneath the step tracker will show you the employer, the check date, the start/end dates for the check, and the status of the payroll.
- The status of your payroll can be any of the following:
- Scheduled: Payroll Not Started
- Open: Payroll started and available for data entry.
- Closed: Data Entry Completed
- Submitted: Data sent to be processed.
- Queued: Data received and ready to be processed.
- Processing: Data is being processed.
- Processed: Payroll Complete.

At the top left of the payroll grid, beneath the previously selected employer is:
- The type of batch. For our example, it is indicating "B - Bi-Weekly Payroll."
- And buttons to:
- Restart: Restart the current batch and load any defaults. Any changes made will be lost.
- Add: Create a new batch and define the new Batch Code and Batch Description.
- Delete: Delete the selected batch. Any changes will be lost.
- Add Employees to Batch: Open the "Add Employee" utility, search for an employee by ID or Name, and add any selected employee(s) to the current batch.
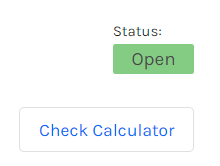
On the far fight-hand side is a "Check Calculator" button which allows you to run calculations for specific employees and create checks manually. For more information about the check calculator, please refer to the following section: Check Calculator
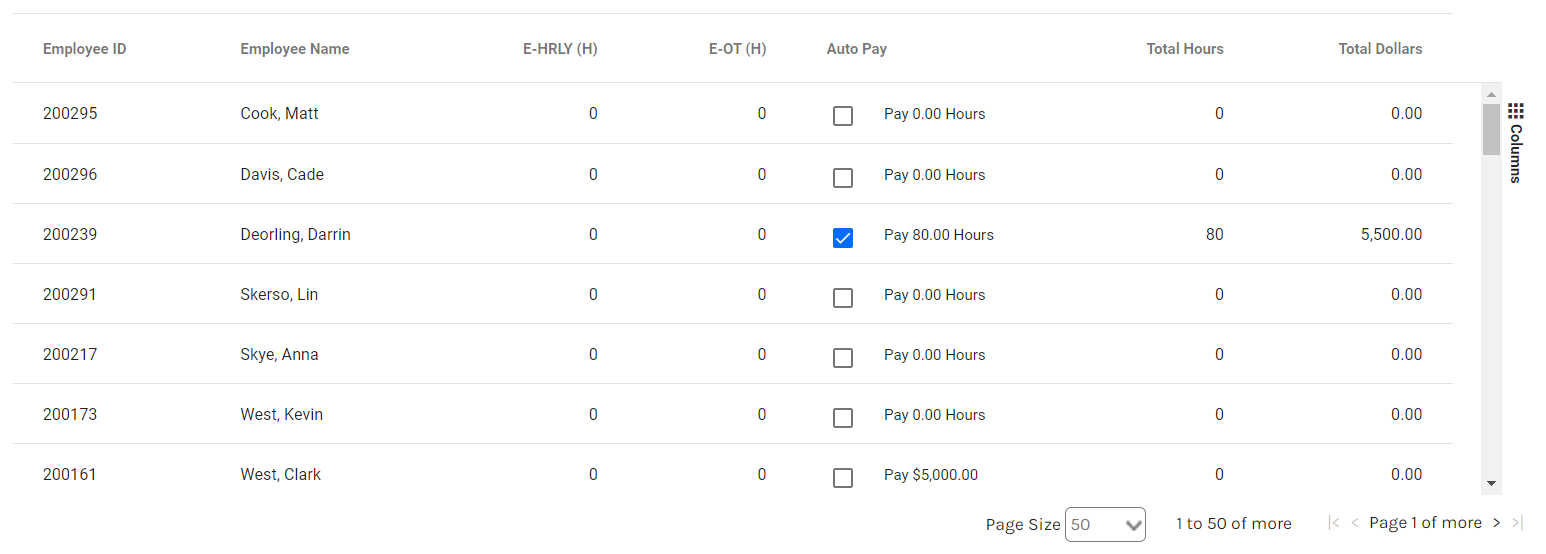
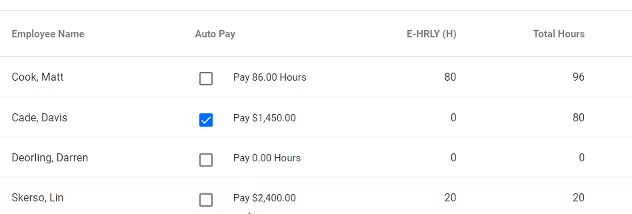
The pay entry grid will show the employee name, employee ID, and any configured columns/grids.
Towards the right-hand side of the pay entry grid will be a column chooser to control what columns to display. For earnings, you can specify if you want to pay through hours or dollar amount.
Columns can be reordered by clicking the header and dragging them to the desired location. Pinning a column to the left or right locks the column to the respective side. If a column is not pinned, it will appear in the middle between pinned columns and allow you to scroll through unpinned columns if you have multiple.
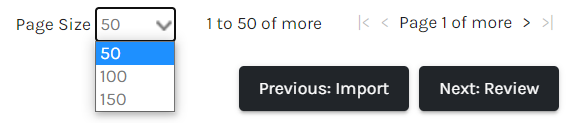
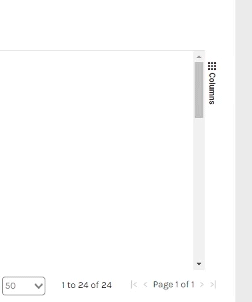
At the bottom right of the payroll grid are:
- A drop-down menu to show 50, 100, or 150 employees per page.
- Page navigation.
- Buttons to go to the previous or next step.
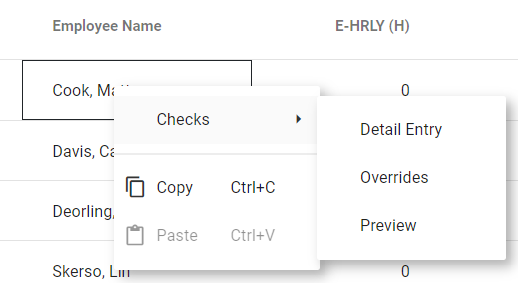
Right-clicking an employee name allows you to go to Checks and go to Detail Entry, Overrides, and Preview their check. For more information, refer to the following sections.
Detail Entry
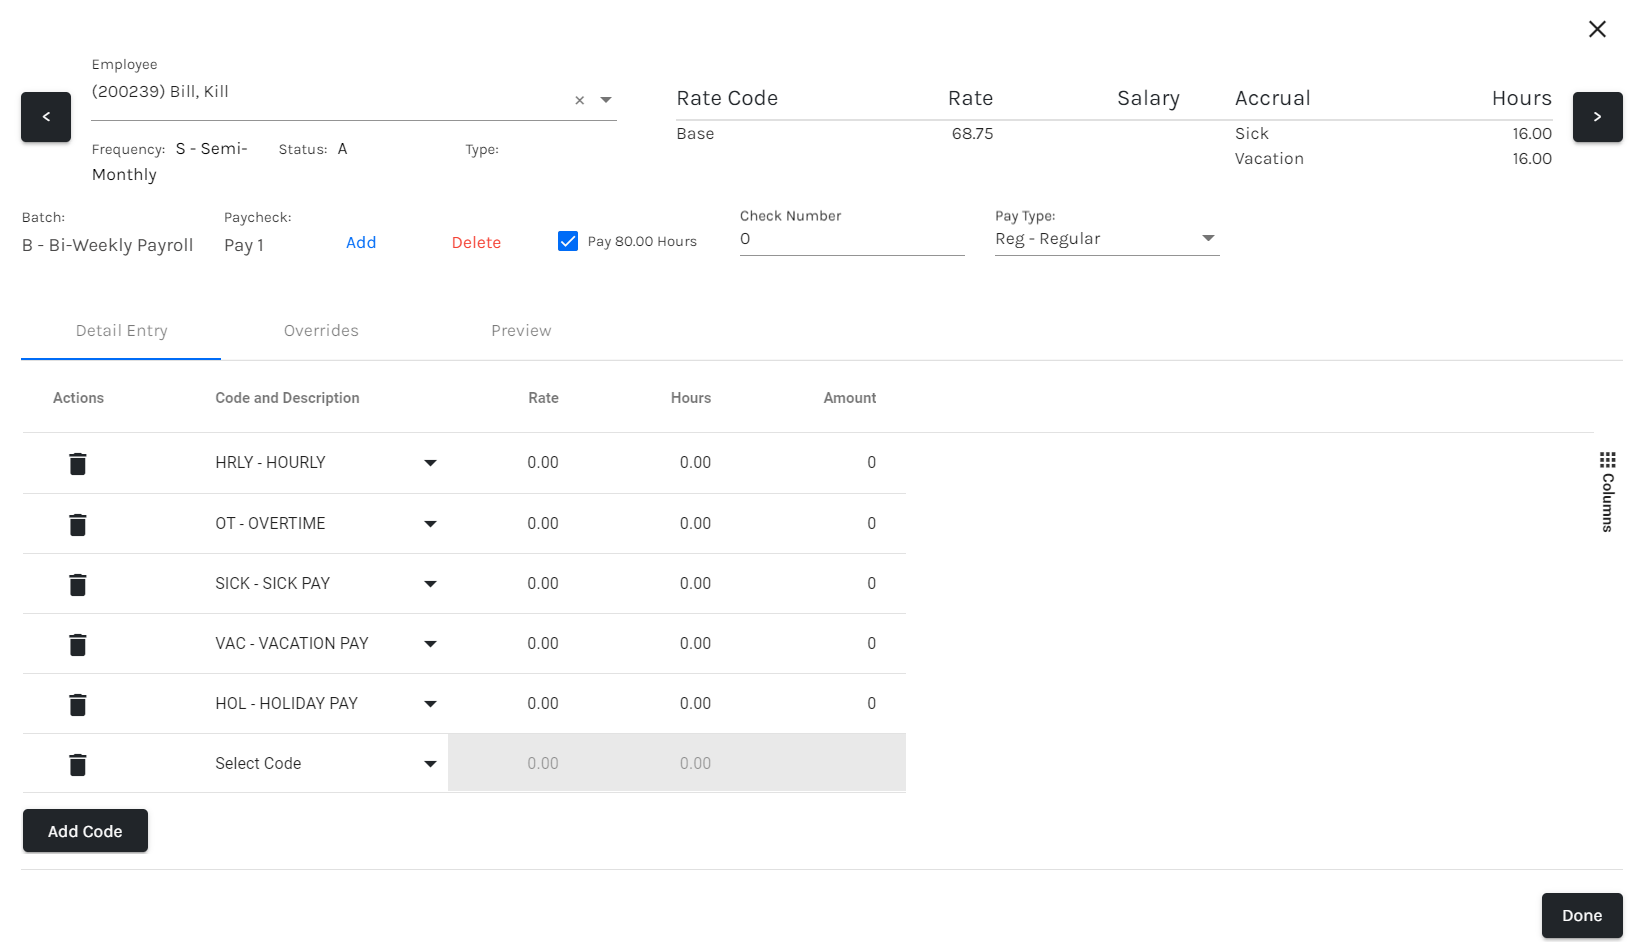
The Detail Entry view allows you to get a detailed breakdown for a single employee at a time. Any information entered from the batch entry view will carry into the detail entry view and vice-versa.

The top of the page will display employee information such as:
- The currently selected employee. From the drop-down menu, another employee can be selected.
- Information relating to:
- Departments: Cost Centers/Departments assigned to the employee.
- Freq: Payroll Frequency (ex: B = Bi-Weekly, SM = Semi-Monthly, etc.)
- Status: Employee Status (ex: A = Active, T = Terminated, etc.)
- Type: Employee Type (ex: RFT = Regular Full Time, etc.)
- Compensation Information for the employee.
- Accrual code and amount
- Navigation buttons to jump to the next employee.
![]()
Beneath the employee information will show information and offer actions such as:
- Information of the batch and paycheck.
- Add an additional paycheck or delete the current paycheck.
- Checkbox to pay the given amount.
- Enter the check number.
- Select the pay type.
The pay entry grid allows you to:
- Switch between detail entry, overrides, and preview.
- Add/Delete pay codes.
- Enter the rate, hours, and/or amount for a code.
- Add additional codes.
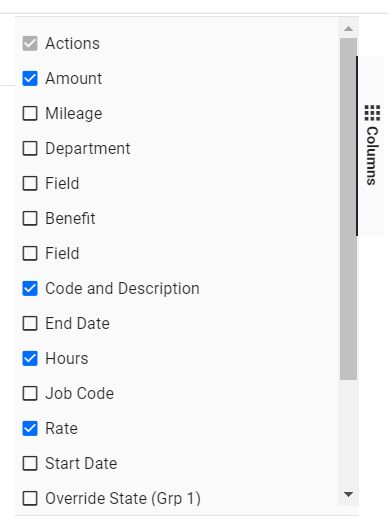
On the far right-hand side of the pay grid is the "Columns" button that allows you to add/remove columns.
Overrides
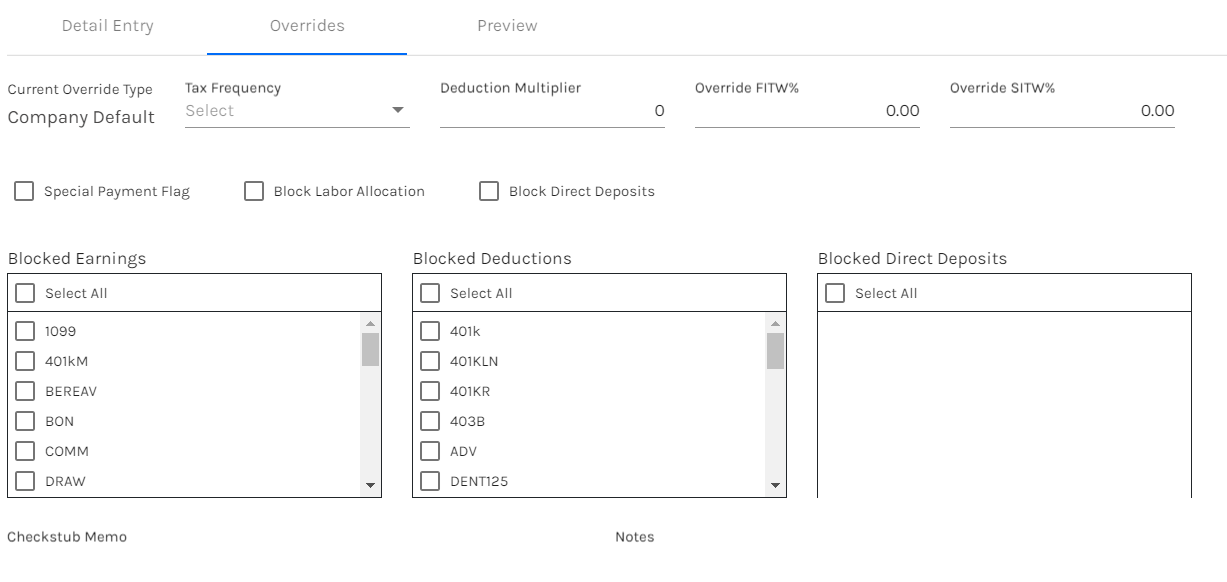
Overrides allow you to specify the tax frequency, enter an override federal/state withholding percentage, block earnings, deductions, etc.

The top portion allows you to adjust:
- Tax Frequency: Displays a drop-down list of all available tex frequency options. Any selection will override the default tax frequency for the selected check.
- Deduction Multiplier: Increase the amount of deduction being withheld (e.g. Entering two (2) will double the amount of the deduction, entering three (3) will triple the deduction, etc.)
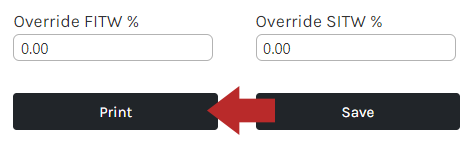
- Override FITW%: The percentage entered here will be used to calculate the federal income tax withholding for the selected check.
- Override SITW%: The percentage entered here will be used to calculate the state income tax withholding for the selected check.

The following checkboxes allow you to:
- Special Payment Flag: If enabled, this is a Special Payment pay type.
- Block Labor Allocation: If enabled, blocks any automated labor allocation configured in payroll for this employee on the selected check.
- Block Direct Deposits: If enabled, block any direct deposit accounts configured in payroll for the employee on the selected check.
The following lists allow you to:
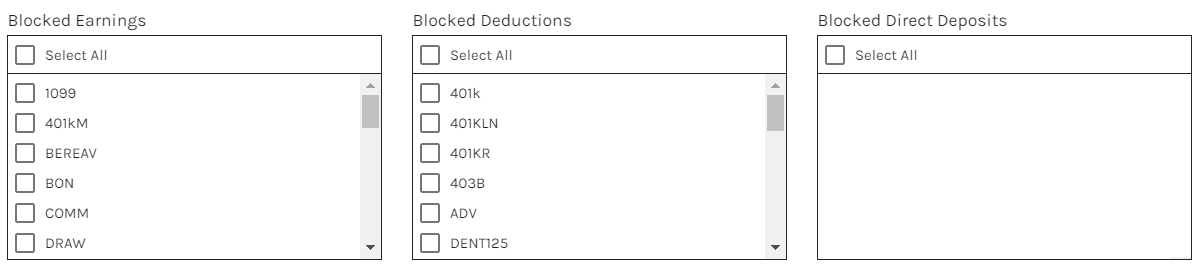
- Blocked Earnings: Block individual earings from recurring for the selected check.
- Blocked Deductions: Block individual deductions from recurring for the selected check.
- Blocked Direct Deposits: Block individual direct deposit accounts for the selected check.

The buttons above allow you to save these options and selections as an employee override or as a paycheck override so it applies to the one check. It is inadvisable to use the option "Save as Employee Overrides."
Preview
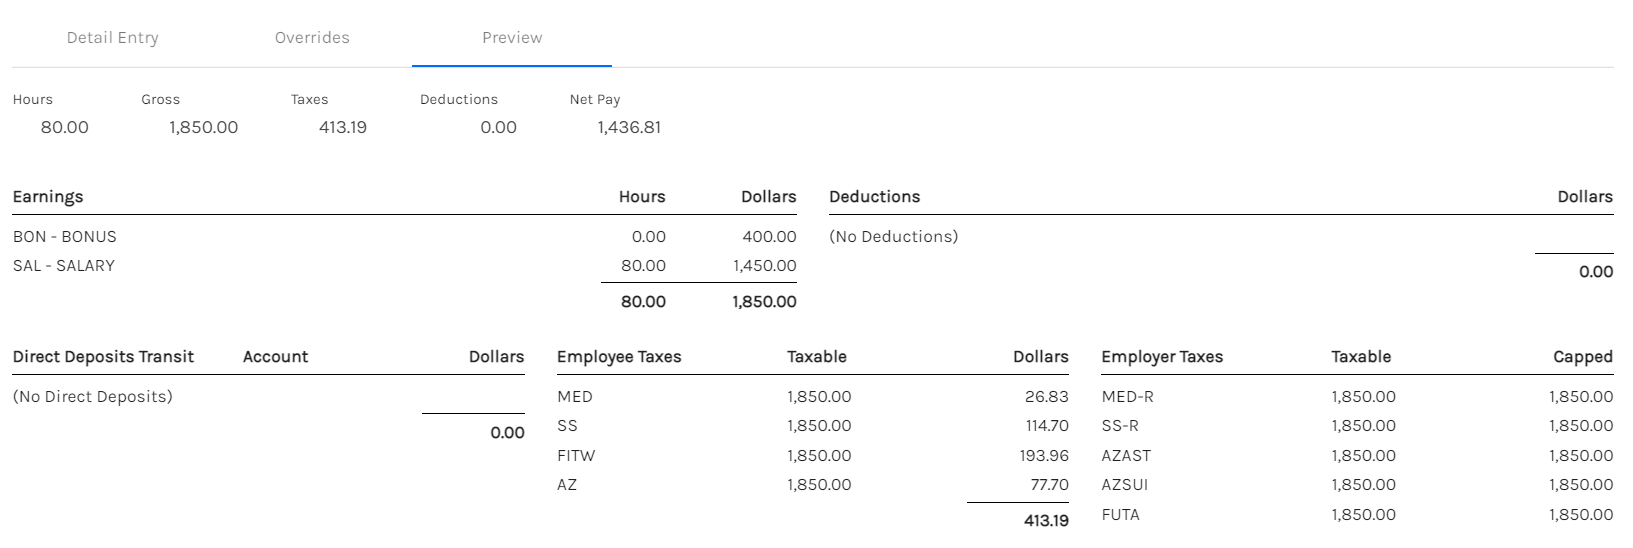
The Preview page allows users to preview the gross-to-net calculation for a selected employee’s paycheck prior to processing.
Entering Time Manually
With Batch Entry
- To enter time/pay, double-click the field for an employee under any column and enter the appropriate value.
- If a column is not present, you can click Columns on the right-hand side and add it.
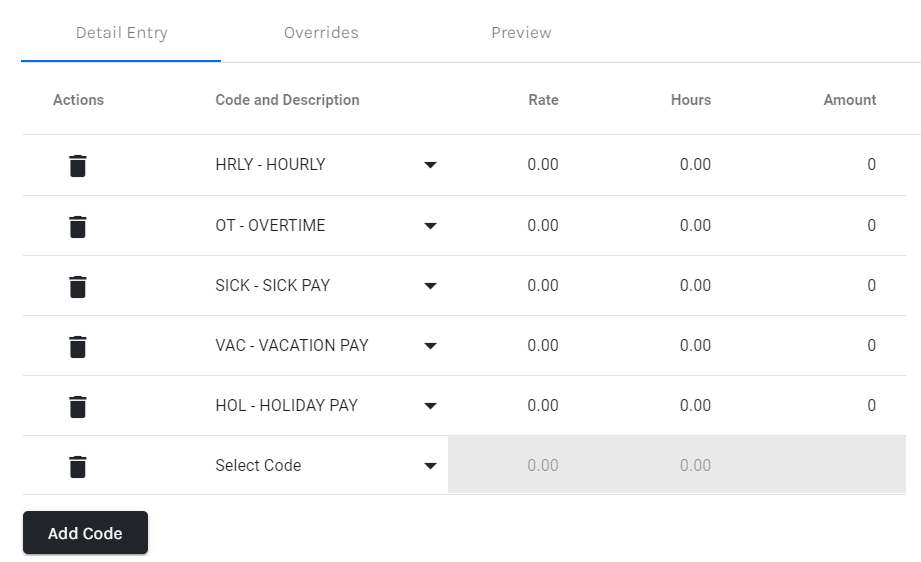
With Detail Entry
- To enter time/pay, you would double-click the appropriate field for any codes found under the "Detail Entry" tab and enter the value.
- If the required code is not present, you can click Add Code and select the code from the list.

- If a code is not needed, you can click the Trash can icon on the left-hand side.

Review

Preview will show whatever is entered on the previous screens and see the resulting check.
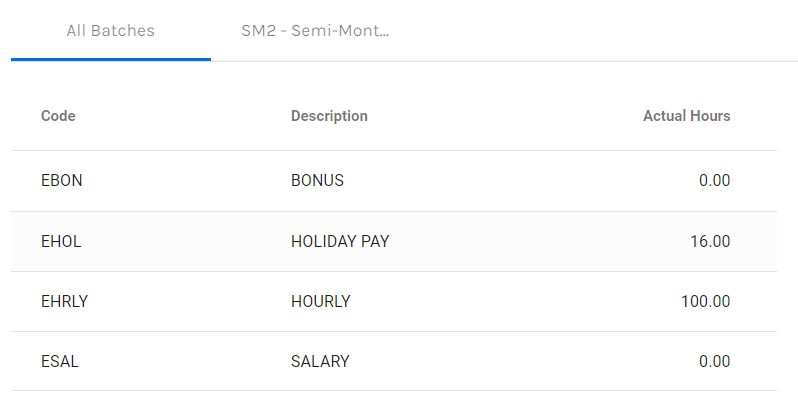
In Review, you can see your batches, either collectively or individually with the tabs, and see by code what are the values that have been entered from the import/pay entry grid.
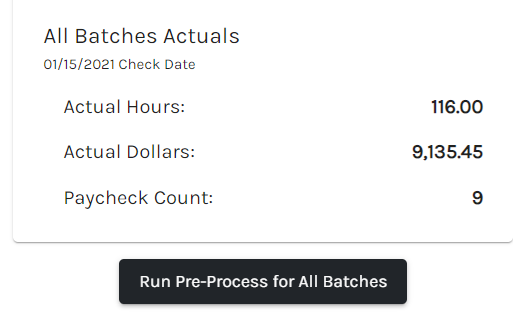
Clicking “Run Pre-Process for X Batches” generates a report from Millennium, for the selected batch or all batches, that the user can download and view in PDF format.

If the totals of the batches are correct, click "Next: Submit Payroll" to take you to the final confirmation screen.
Submit Payroll

The "Submit Payroll" screen is the final screen and is used for viewing/entering payroll notes and confirming your payroll submission.

- Company Default Payroll Notes: Displays any notes entered by your payroll service provider. For example, a reminder can be entered to double-check anything before submitting payroll.
- Payroll Specific Notes: Notes that you can send to your payroll company before finalizing payroll.
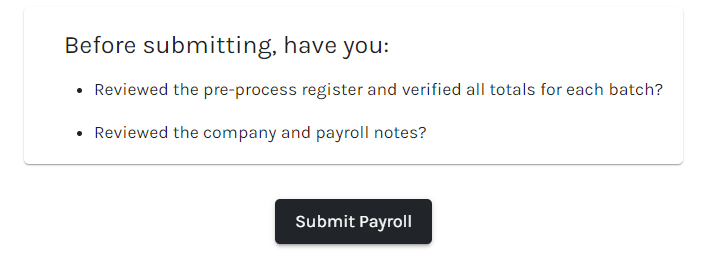
When your payroll has been reviewed and is ready to go, click Submit Payroll.
After your payroll has been submitted, the payroll grid is locked to prevent any further changes, and they can go to reports to see any post-payroll reports.
Reports
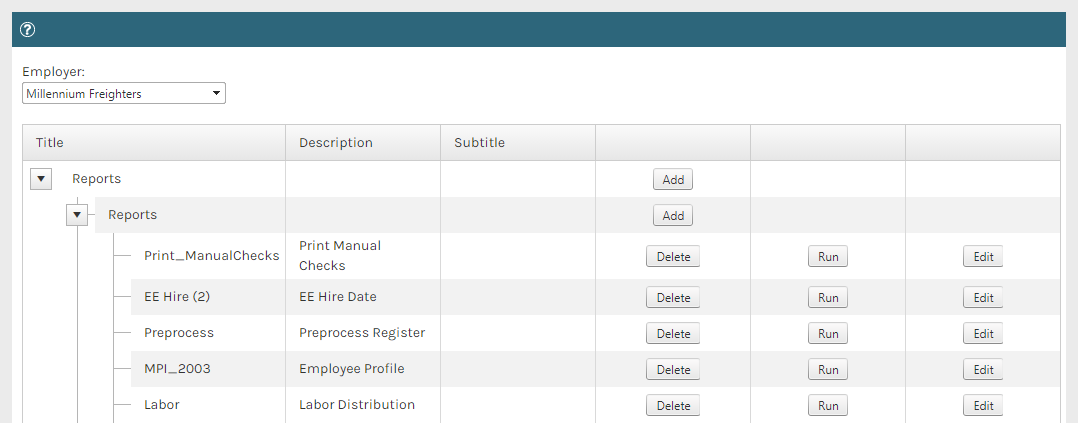
Reports are where you can review any post-payroll reports.
The reports listed are generally setup by your payroll provider. You can also add reports to the list by clicking "Add" and peruse the list of available reports.
If your company has any custom reports, they will be listed here, but any changes to a custom report would be done through your payroll provider.
Check Calculator
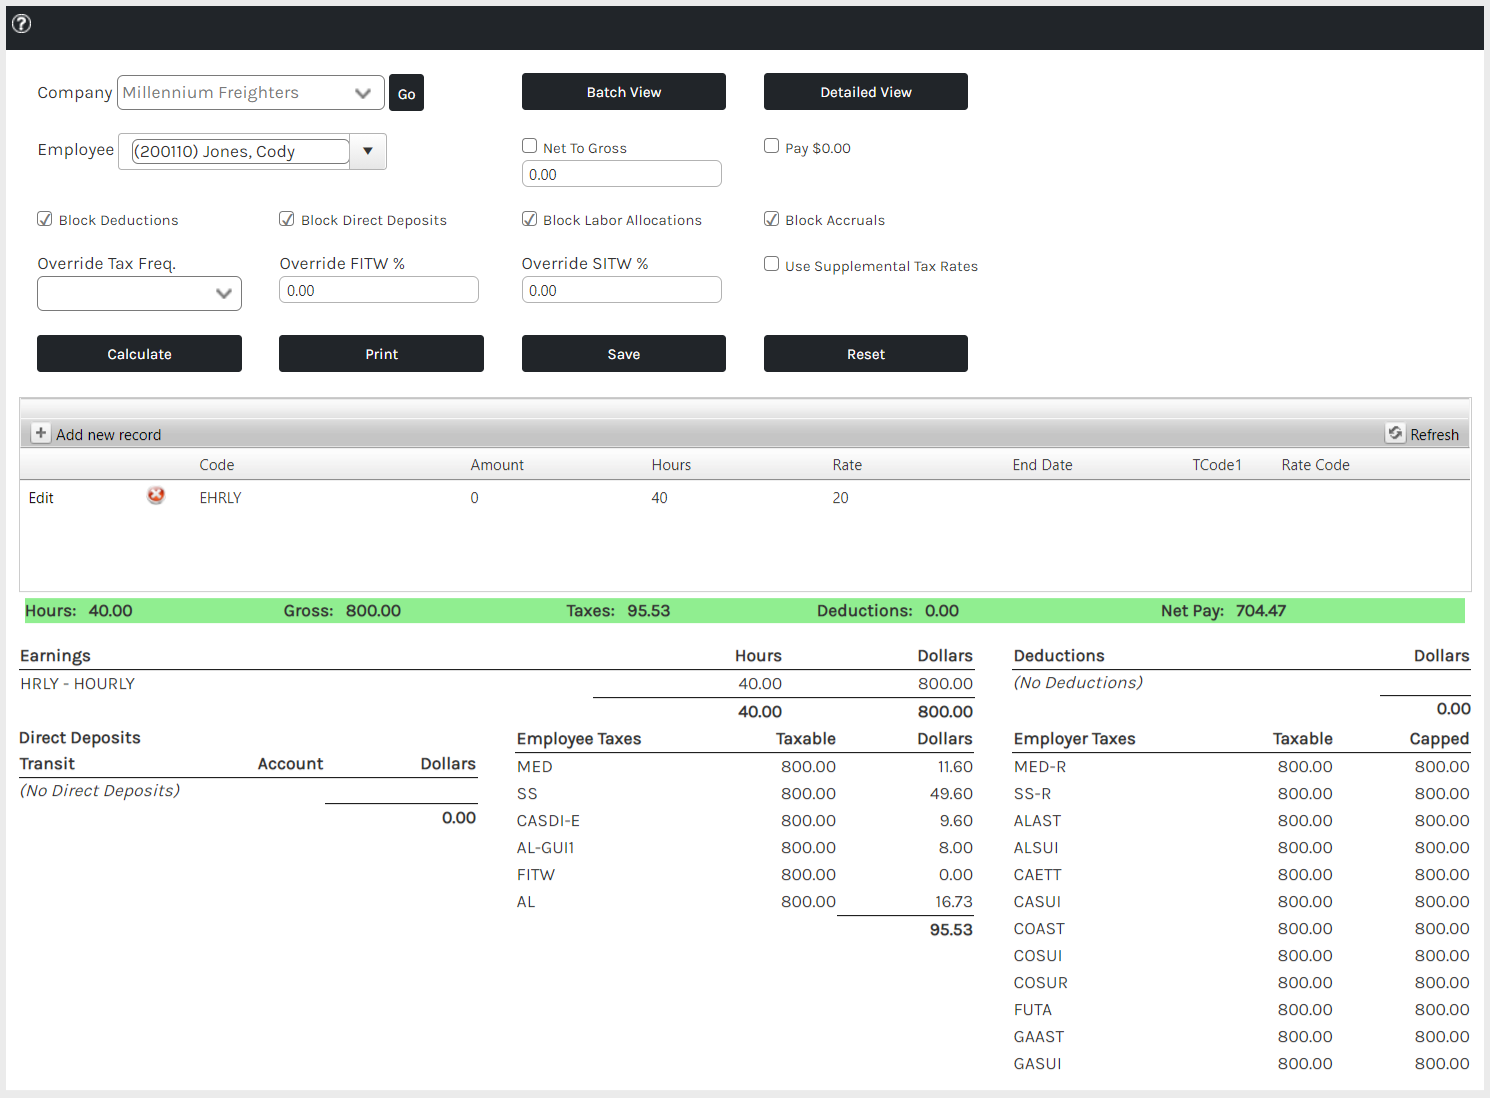
The check calculator provides the ability to calculate checks in a "what if" mode and create actual manual checks.
Various overrides/settings can be applied to the calculation or creation of a check:
- Autopay hours/dollars
- Block Automatic Pays
- Block Deductions
- Block Direct Deposits
- Block Labor Allocations
- Block Accruals
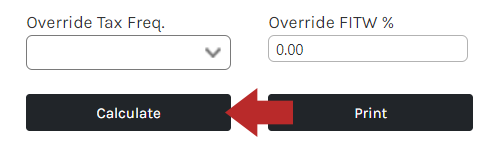
- Override the tax frequency
- Override FITW by %
- Override SITW by %
- Use supplemental tax rates
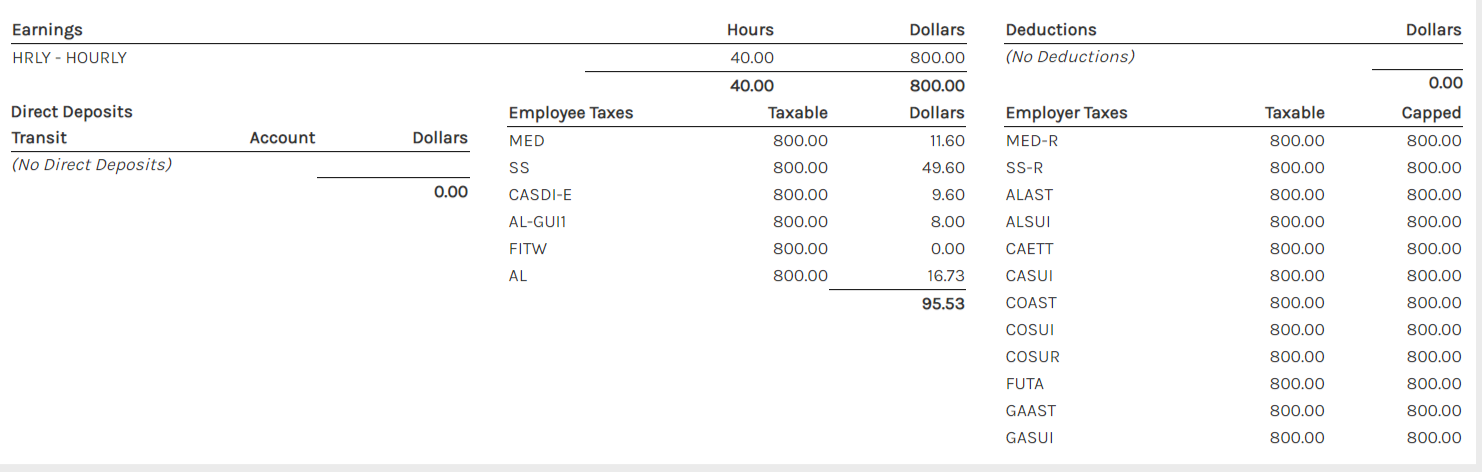
Gross to Net Calculations and/or Manual checks
- Enter earnings using the pay grid.
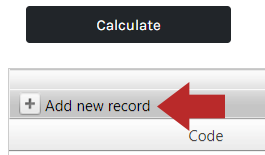
- Click Add New Record.
- Enter necessary information such as the code, rate, hours, amount, etc.

- Click Insert.
- To modify an existing record, click Edit, make any necessary changes, then click Update.
- Click Add New Record.
- Click Calculate. The payroll system will develop a gross amount, deductions, and taxes for the check.
- Review net pay information in the paycheck preview area.
- Change blocks or overrides if needed, then click Calculate to recalculate the check and preview.
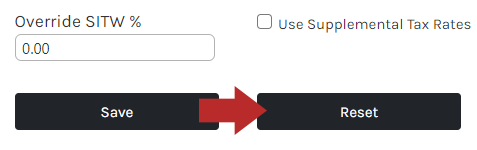
- To reset the calculation previously entered, click Reset.
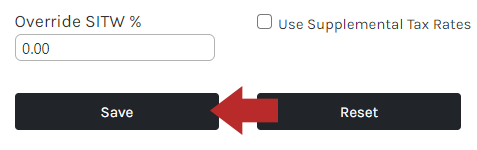
- If the check amounts are correct, click Save to create VM Batch and process check with next payroll.
- After saving the check, the following can now be entered: pay period dates for the check, bank account to draw funds, and check number.
- Click Print to print the check locally.
- To cancel, leave the screen.
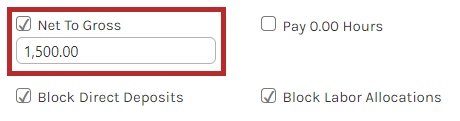
Net to Gross Calculations and/or Manual Checks
-
- Check the Net to Gross checkbox and enter data in the data entry field next to "Net to Gross."
- Click Calculate. The payroll system will develop a gross amount, deductions, and taxes for the check.
- Review net pay information in the paycheck preview area.
- To reset the calculation previously entered, click Reset.
- If the check amounts are correct, click Save to create VM Batch and process check with next payroll.
- After saving the check, the following can now be entered: pay period dates for the check, bank account to draw funds, and check number.
- Click Print to print the check locally.
- To cancel, leave the screen.
- Check the Net to Gross checkbox and enter data in the data entry field next to "Net to Gross."