A Class is a course set for a specific time and location. Click here to read more about setting up a course.
Before adding a Class, you must do the following:
- Add a course with the Training Type of "Instructor Led" that has "Require Class" enabled to allow for classroom access.
- Add a Classroom.
Creating a Class
Navigating to Adding a Class
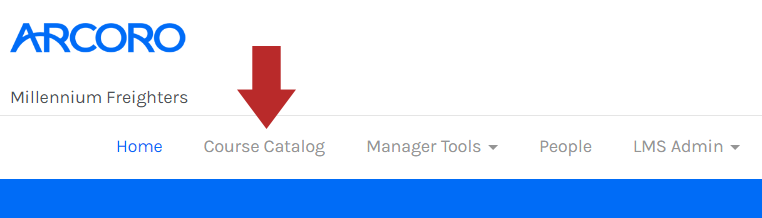
- Go to Class Catalog.
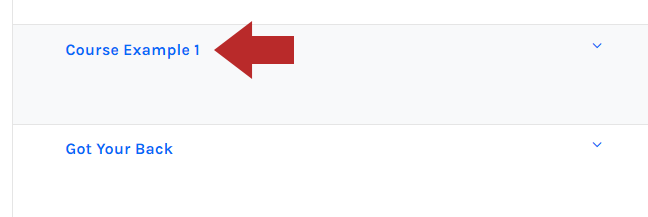
- Click the name of the course that needs a class.
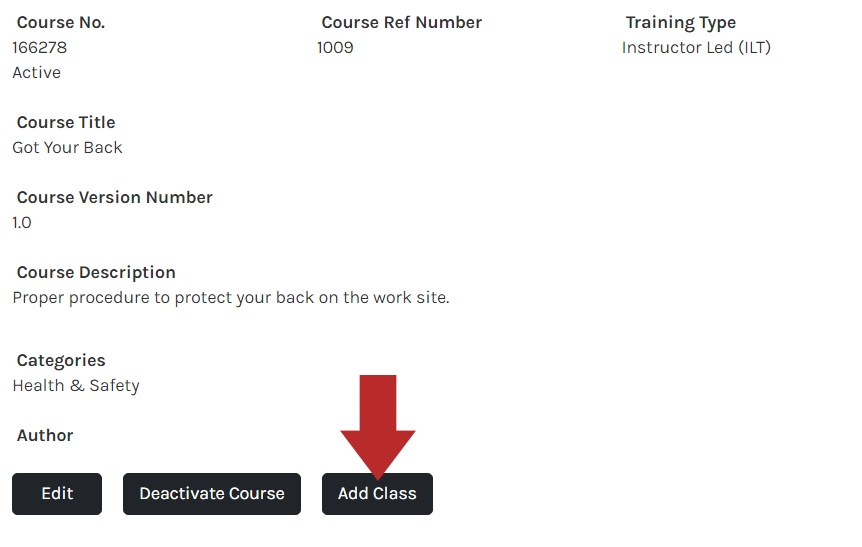
While viewing the Course information, click Add Class.
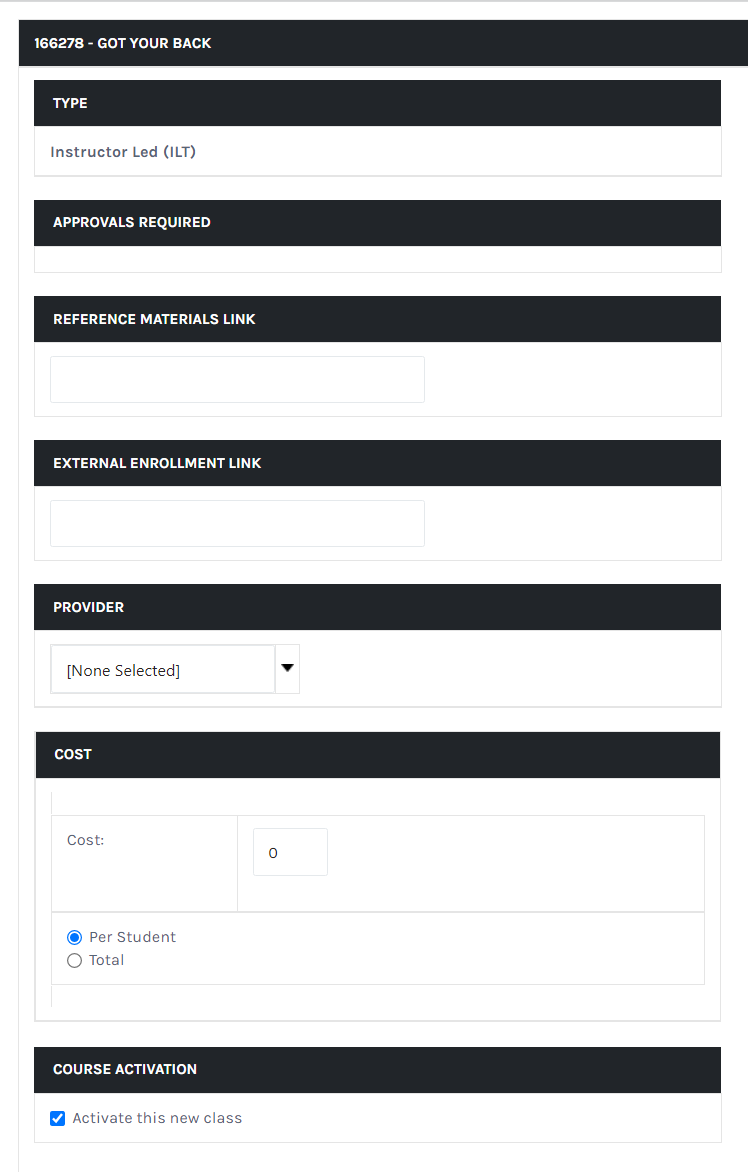
Class Information
![]() = Fields the employee sees when viewing the course
= Fields the employee sees when viewing the course
* = Required fields
 Reference Materials Link - This is separate from the course. Add a link to course materials (link needs to be accessible to users).
- External Enrollment Link
- Provider - Select from the drop-down menu. The list will be populated with Training Providers. If you would like to add additional Training Providers, you can refer to Complete Guide to Training Provider
- Cost at the class level (there is also a cost at the course level)
- Select Cost by Student or Total
- Course Activation - Activate this new class and make it available within the course catalog for employees to enroll.
Class Scheduling

![]() = Fields the employee sees when viewing the course
= Fields the employee sees when viewing the course
* = Required fields
- * Classroom - Select from the drop-down. The list is populated from Classrooms. To manage your classrooms, you can refer to Complete Guide to Classrooms.
- Enrollment Limit
- Enable Waiting List - If enabled, the Waiting List will be turned on. Once the enrollment limit has been reached, anyone new enrolling will be added to a waitlist, and seats remaining will indicate a negative number. If an employee drops the class, the first person on the waitlist will be added.
- * Start Date - The day the first-class session begins
- * End Date - The day of the last class session. Can be the same day as the Start Date unless the class occurs over multiple days.
- * Start Time
- * End Time
- Time Zone - Select the time zone of the location of the class.
- Duration (days) - Duration of class in a number of days. Should be used only if occurring over multiple days.
- Duration (hours) - Duration of class in hours.
- Send Invitation as a Calendar Event - Once an employee enrolls, they will receive an email notification with ical attached to add to their personal calendar.
- Use Advanced Calendar Scheduling Options - Used when an event (class) occurs over multiple days. For example, a class that occurs every Wednesday from 8-9AM for 4 weeks. Very similar to how you create a reoccurring meeting.
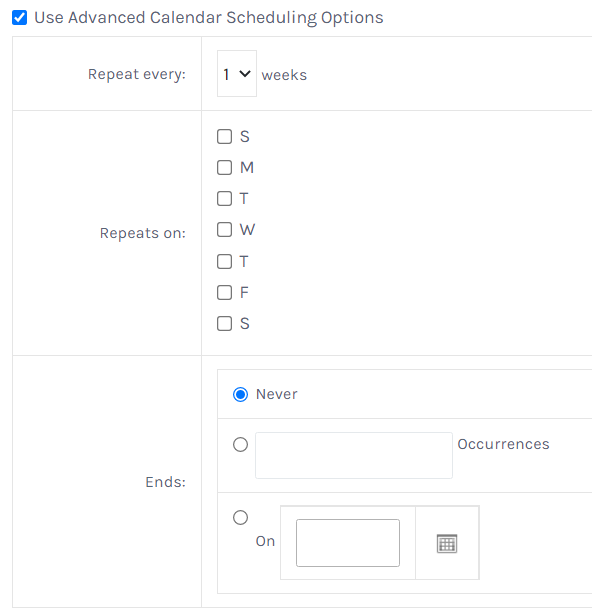
- Select the Repeat every number of weeks
- Repeats on what day(s)
- Occurrences - total number
- Ends on - select the date
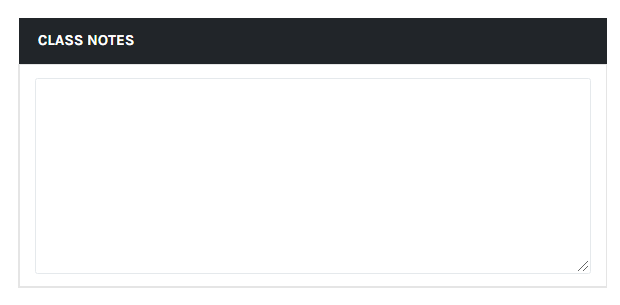
Class Notes
![]() = Fields the employee sees when viewing the course
= Fields the employee sees when viewing the course
![]() Class Notes
Class Notes
Assign an Instructor
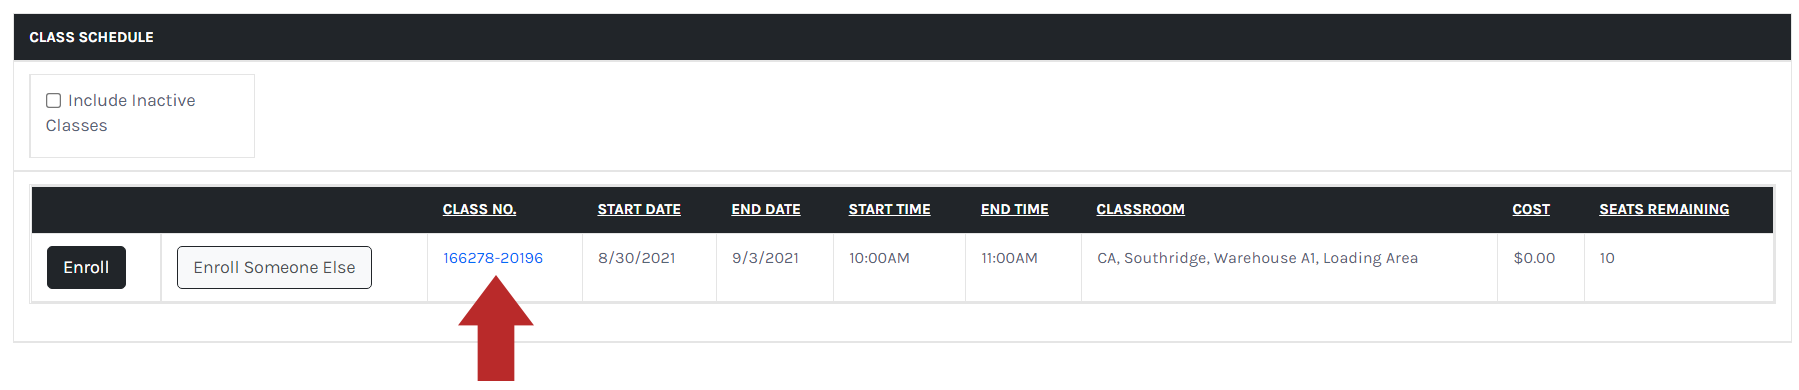
- From the Course Catalog, click the name of the course.

- Click the class link under the Class No. column.
- Go to the Special Actions drop-down menu, click Edit Class.
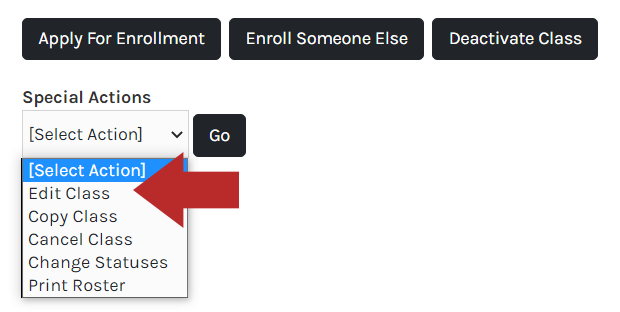
- From the Edit Class page, click Assign Instructors.
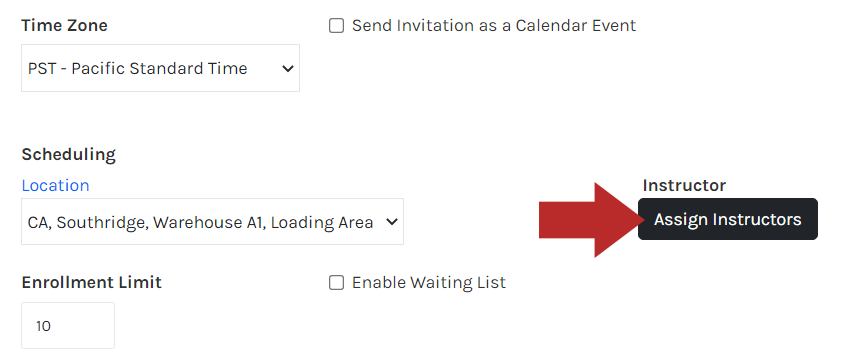
- A modal window will open with a list of Instructors. Select the Instructor(s) and click the arrow between the list of available instructors and assigned instructors. To add additional Instructors, you can refer to Adding a New Instructor. Click Save when finished select instructors.

- Save your changes on the class information page.