Typically, an instructor would be given access to manage the class; the default Instructor role includes this. Click here to read more about adding a class.
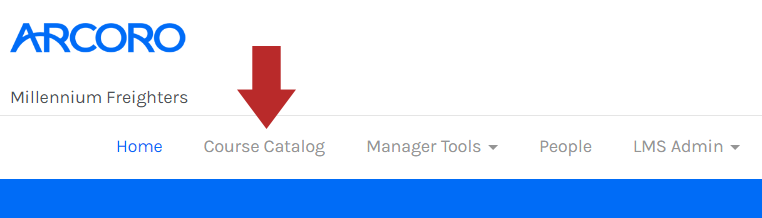
- Go to Class Catalog.
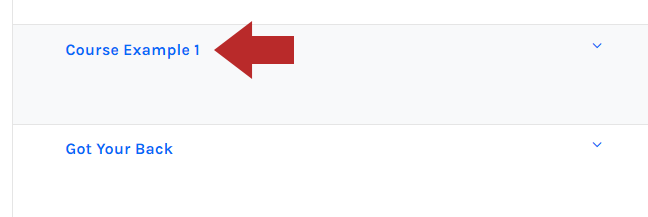
- Click the name of the course that needs a class.
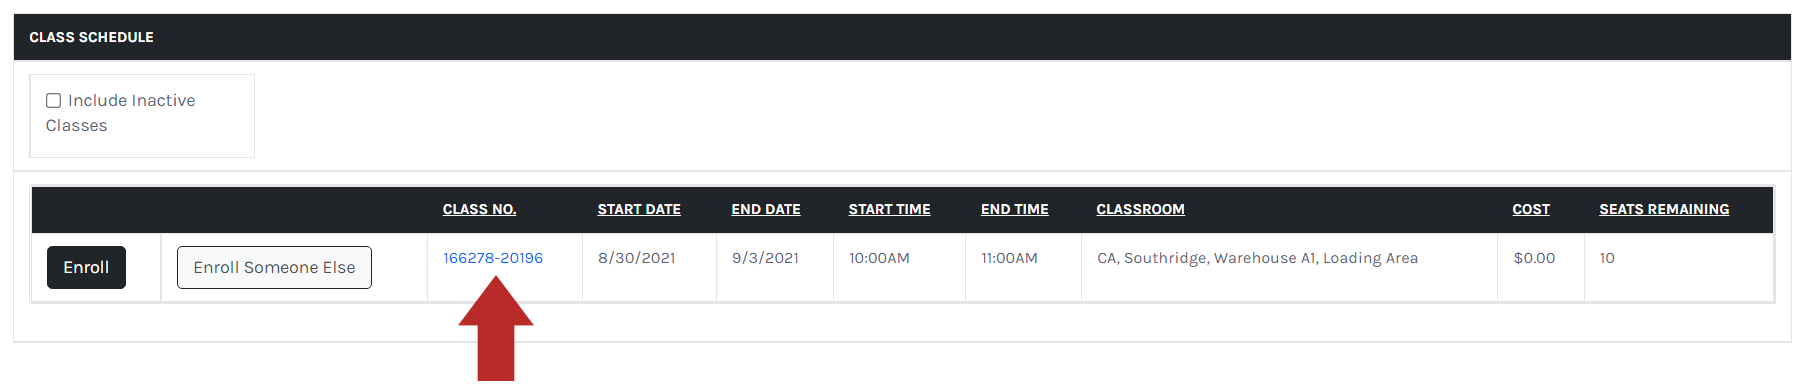
- Click the class link under the Class No. column for the course.
- You will see the class information like below:
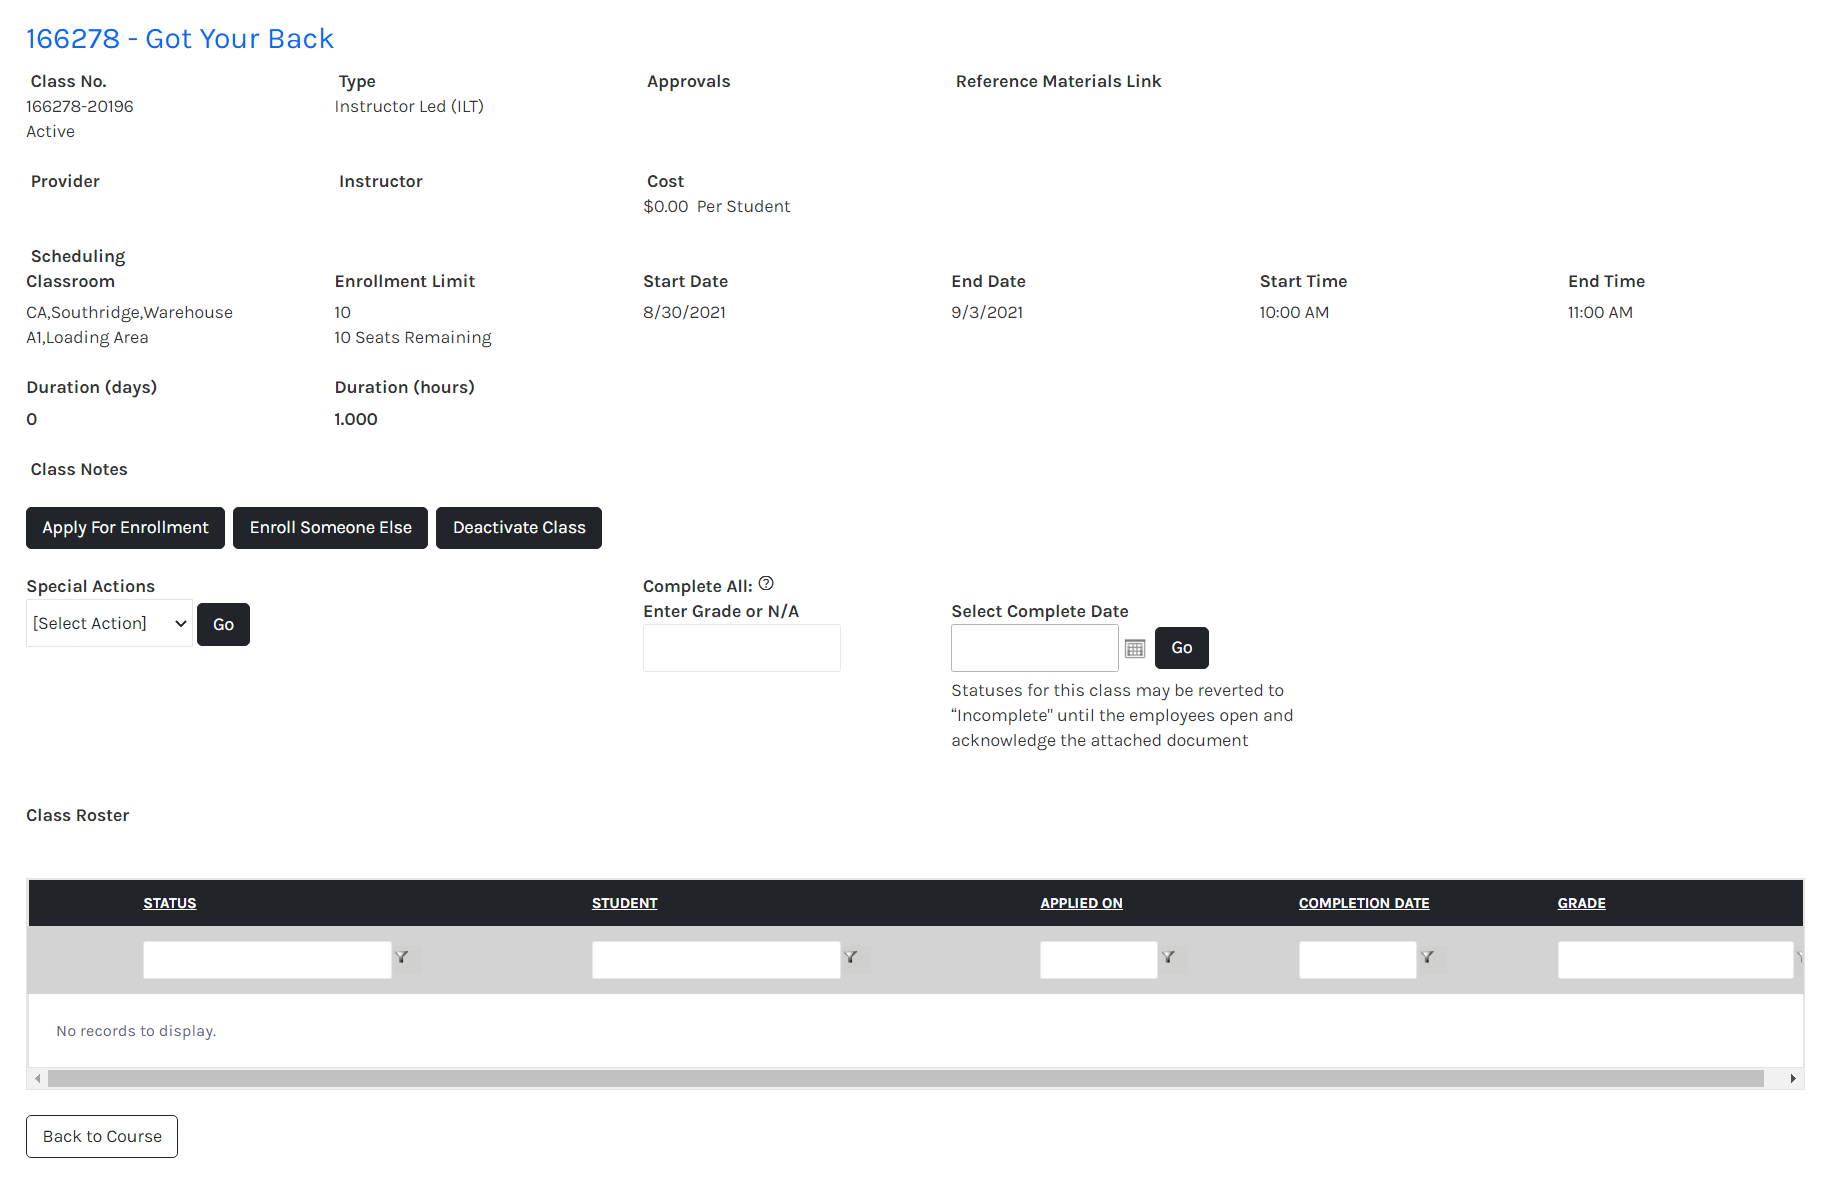
Special Action Options
While viewing the information for a class, you will have a drop-down menu for Special Actions. After selecting a Special Action, click Go to execute.

- Edit Class - This will allow for the assignment of an instructor (see Instructor section for more details) to be made and alter any of the current class details, with the exception of details from the Advance Calendar Scheduling Options.
- Copy Class - Quick and easy way to add a new class and just change out the dates and times.
- Cancel Class - Will remove the class from the catalog. Best practice is to send out an email, by clicking on the "Compose Email to Scheduled Students" to let them know the class has been canceled. An automated email will also go out for them to remove from their calendar.
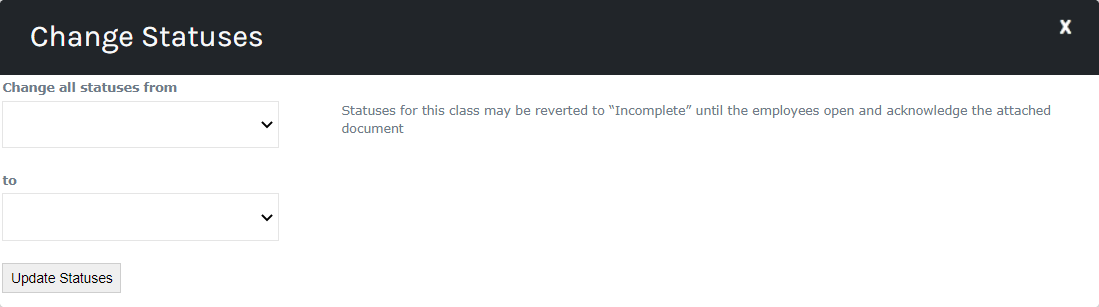
- Change Statuses - To quickly change statuses from Scheduled to Completed and then select Update Statuses. The selections in the drop-down are hardcoded and not configurable.
- Print Roster - This can be printed off and used as a sign-in sheet.
Edit Class
The Edit Class page will allow you to assign an instructor to be made and alter any of the current class details, with the exception of details from the Advance Calendar Scheduling Options.

- Start Date - The day the first-class session begins
- End Date - The day of the last class session. Can be the same day as the Start Date unless the class occurs over multiple days.
- Start Time
- End Time
- Time Zone - The time zone of the location of the class.
- Send Invitation as a Calendar Event - Once an employee enrolls, they will receive an email notification with ical attached to add to their personal calendar.
- Location - The classroom for the class. For more information about classrooms, you can refer to Complete Guide to Classrooms
- Assign Instructors - To assign instructors to the class, you can refer to
- Enrollment Limit
- Enable Waiting List - If enabled, the Waiting List will be turned on. Once the enrollment limit has been reached, anyone new enrolling will be added to a waitlist, and seats remaining will indicate a negative number. If an employee drops the class, the first person on the waitlist will be added.
- Duration (Days) - Duration of class in a number of days. Should be used only if occurring over multiple days.
- Duration (Hours) - Duration of class in hours.
- Cost - The cost of the course at the class level (there is also a cost at the course level). Select Cost Per Student or Total
- Reference Materials Link
- External Enrollment Link
- Provider - The drop-down menu will be populated with Training Providers for the class. If you would like to add additional Training Providers, you can refer to Complete Guide to Training Provider.
- Class Notes - Notes that can be viewed by employees when viewing the class.
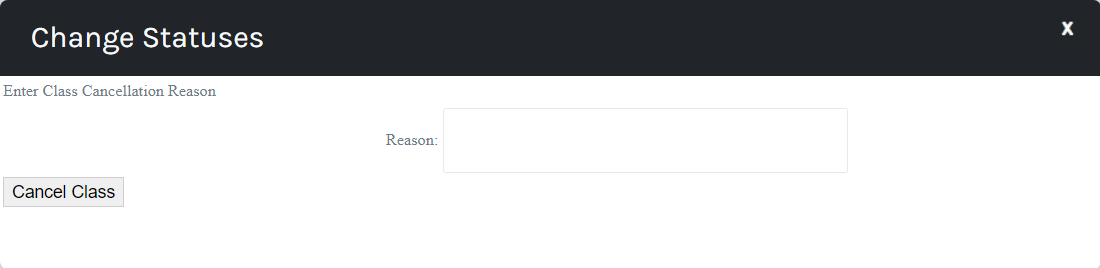
Cancel Class
The class will be cancelled with a reason for the cancellation.
Changing Statuses
Change the statuses of any employee in the employee roster with a specific status to another status.
Print Roster
The Instructor can then use the sign-in sheet to update completion statuses within the class.

Select preferred output:
- View Online
- Export to PDF
- Export to Excel
- Export to Word
You can use "Build Report" to execute the option you selected above. Clicking Print will allow you to print the "ReportViewer" modal.
The fields included will be:
- Course Title
- Start Date
- Start Time
- End Date
- End Time
- Training Location
- Student Name
- Student Phone
- Manager Name
- Manager Phone
- Status
- Instructor
Additional Options
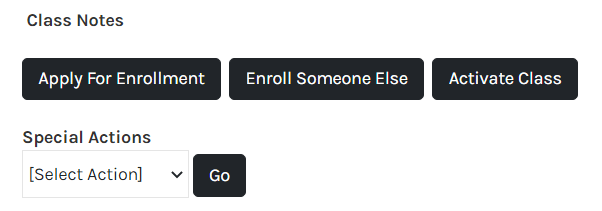
- Apply for Enrollment - Enroll in the class yourself.
- Enroll Someone Else - Enroll other employees.
- Activate Class - If the class is not currently active, this will make the class live within the catalog for employees to enroll.
- Deactivate Class - If the class is active, this will remove the class from the catalog. All employees will still be enrolled.
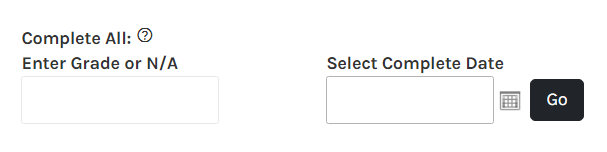
- Complete All: - This option allows for a quick way to complete everyone enrolled. Enter a grade, percentage or N/A, then enter the date of when it was completed. This will change the Completed to Yes and add in a Grade for the employee roster.

- Compose Email - This will use your default email program and place all scheduled employees into the Bcc field.
- Class Roster - Will list all the individual employees enrolled.
- Edit - Click Edit to the left of the employee name to change their status, include a reason (reasons are not configurable), add in any additional comments and grade, then Update.
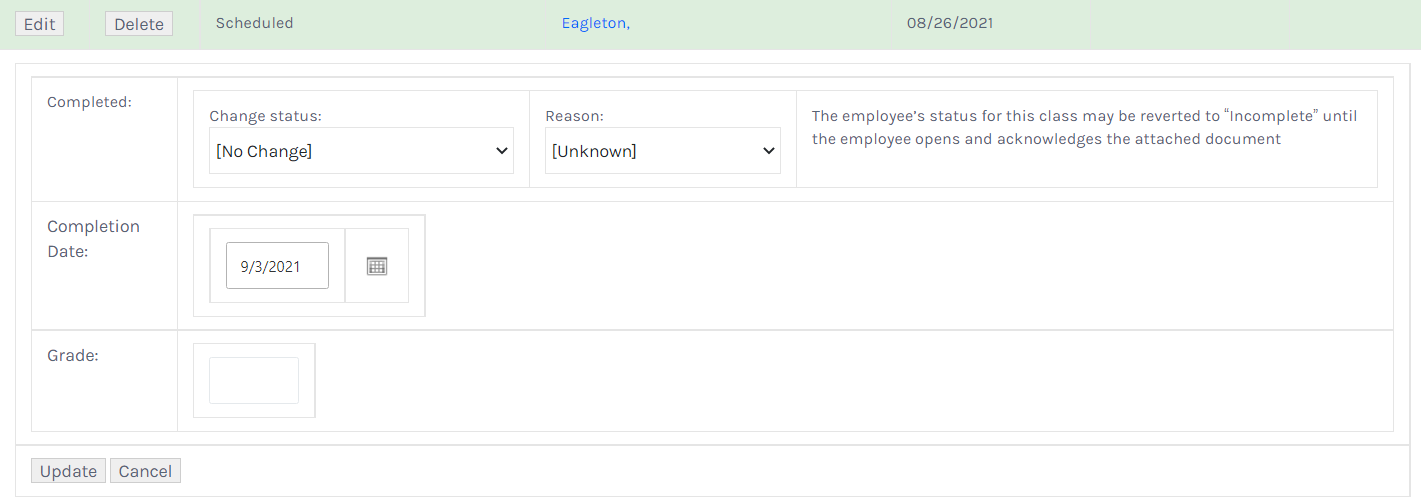
- Delete - Click Delete next to the employee name to delete their enrollment.
- Employee Name - Click the employee's name under the Student column to view a snapshot of their employee profile.
- Edit - Click Edit to the left of the employee name to change their status, include a reason (reasons are not configurable), add in any additional comments and grade, then Update.