'Bulk Import' allows you to quickly enter and set up various aspects of Onboarding. Configuring your system with all your Users, Job Titles, Locations, and Employees can take an enormous amount of time for you. Bulk importing can reduce the time to go live significantly. Bulk Import currently allows the import of Users, Job Titles, Locations, and Employees with CSV (Comma-separated values) files.
Table of Contents
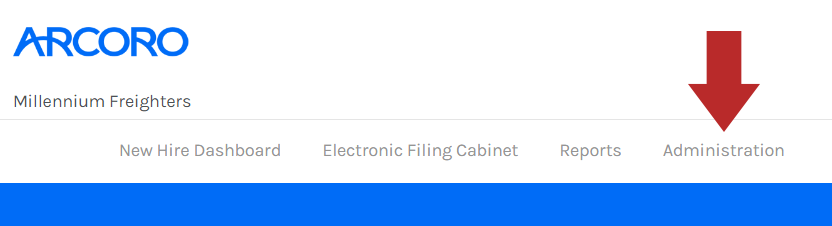
- Click Administration from the top menu bar of Onboarding.
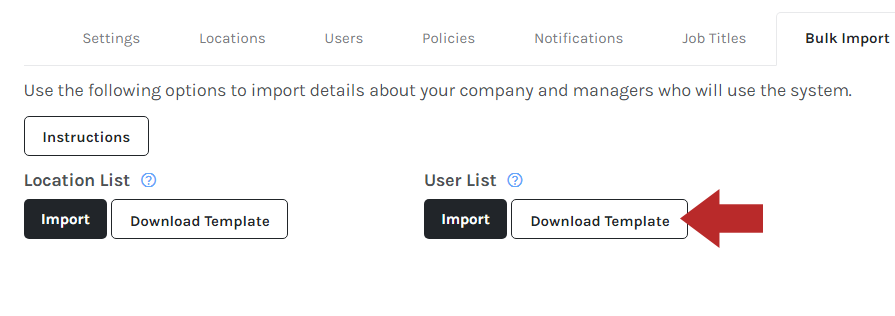
- Click Bulk Import. from the Administration menu.


From the bulk import menu, you can download a template and import any filled templates.
Filling In and Importing Your Template
- Click Download Template.
- Open the CSV template with your preferred CSV editor and fill in the required and/or available fields. For information about the available import fields and templates, you can expand and view the sections below for more information.
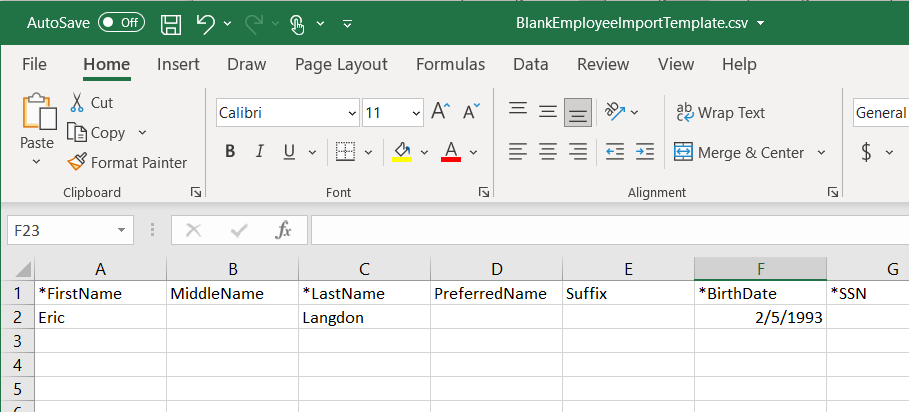
- Save the file in a CSV file format.
- Click Import.
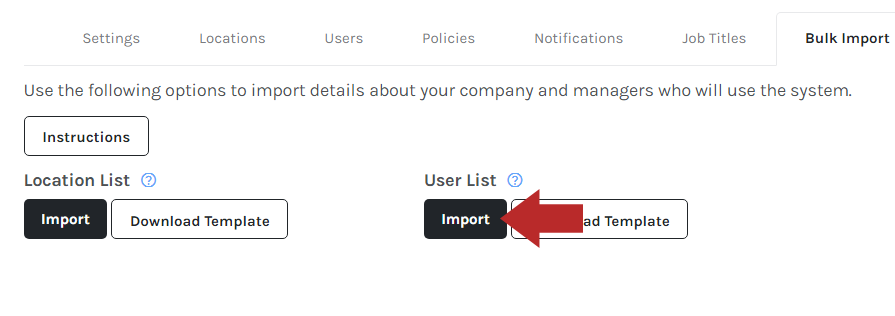
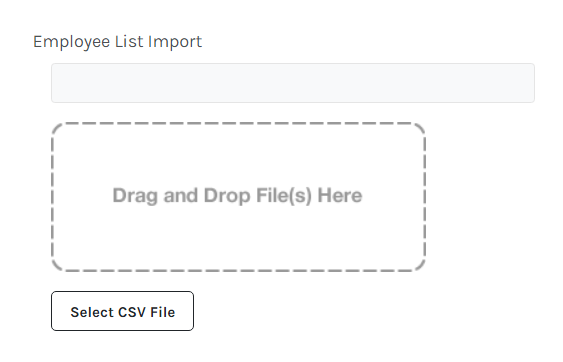
- Drag and drop the CSV file into the given spot or click Select CSV File.
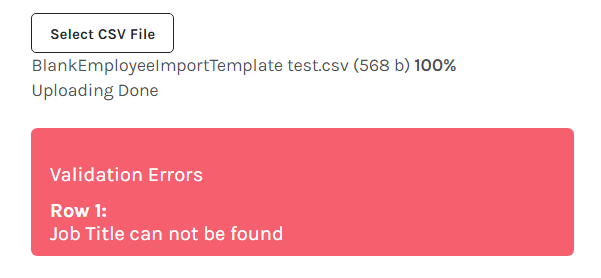
- The data will be validated before import. If there were any issues with the data, you will receive a status message with an error indicating what caused the error and at what row (e.g. duplicate username, the job title does not exist, etc.)
- If there were no issues with data validation, click Confirm Import.

Tips for Bulk Importing
When entering information into your templates, there are a couple of things to keep in mind to ensure a successful bulk import.
Must Be a CSV File
Only CSV files can be used to import locations, users, employees, or job titles.
Data Must Match
When entering certain data into your templates, such as a manager's username, it is best to match the spelling and capitalization of data/names as it would present in Onboarding.
Unique Usernames
When entering usernames for new employees, the username must be unique for the employee. We generally advise using the employee's work email address as their username.
If the employee already has a login to other Arcoro modules, however, it is best to use the same username across your Arcoro modules so they can use the same username to log in to any Arcoro module.
Case Sensitive Fields
Some fields for bulk import can be case-sensitive, such as the pay type for an employee. As the system is expecting either "Hourly" or "Salary", having "HOURLY" and "SALARY" can result in the system not recognizing the appropriate value(s).
Avoid Special Characters (Commas, etc.)
Having special characters in fields such as the location name may result in errors when importing your CSV file. A common special character that can cause issues is the comma in a location name (e.g. Company, LLC). As a comma is used in a CSV to separate different fields/values, having a comma in a location name can result in data in a row being shifted over 1 field depending on how a system can interpret the data like in the example below:

If your location name(s) have a comma in them, it is advised to remove them to avoid these types of errors when performing a bulk import. For assistance with adjusting a location name, you can refer to How to Edit a Location in Onboarding
Data Auto-Formatting
Depending on the type of data being entered, some spreadsheet applications such as Excel can auto-format the data into other values. For some values such as SSNs or Phone Numbers, this can result in the incorrect value being entered. For more information about this, you can refer to Double-Checking Your Excel Data Before Use
Reviewing Error Messages
When receiving an error message after uploading your CSV file, it will indicate the row that should be investigated. When looking for the row causing the error, you will need to add 1 to the given row as the header row is not considered when indicating the row to review.
For example, if the error message refers to row 3, see row 4 in the CSV file.
Importable Fields
- TaxBreak Location ID are only to be entered if that location is using TaxBreak. If the location is not using TaxBreak it must be left blank.
Location Template Fields
*Required Fields
- LocationName*
- LocationNum*
- LegalName*
- Street1*
- City*
- PostalCode*
- State*
- Phone*
- PayrollCode
- TaxBreakLocationID
- FederalEIN*
- This will import the Managers and Administrators for your Onboarding System.
- For Managers, ManagesLocations* is required. If a manager is in charge of multiple locations, each location must be entered into the table separated by a | (e.g. Bobs-Louisville|Bobs-Frankfort).
- The "ManagesLocations" column should be left blank for Administrators. Administrators default to all locations.
- To change the newly imported user's default settings, go to the "Users" tab and edit the user after completing the import.
User Template Fields
*Required Fields
- FirstName*
- MiddleName
- LastName*
- Username*
- Email*
- PreferredName
- WorkPhone
- UserRole* - Enter Manager or Admin.
- ManagesLocations* - The location must already exist in Onboarding. For more information, click
- JobTitle* - If the job title does not exist, the user will be added anyway with the job title entered in the CSV file.
Employee Template Fields
*Required Fields
| Column Header | Description |
|---|---|
| FirstName* | Employee's first name |
| MiddleName | Employee's middle name |
| LastName* | Employee's last name |
| PreferredName | Name employee prefers to go by |
| Suffix | Jr, Sr, I, II, III, IV, V |
| BirthDate* | Employee's date of birth |
| SSN* | Employee's social security number |
| Username* | Employee's username |
| Email* | Employee's email address |
| Street1* | Street address |
| Street2 | Apartment/Unit/Suite Number |
| City* | City |
| State* | State (no abbreviations) |
| PostalCode* | Postal code |
| PhoneHome | Employee's home phone number (not required if mobile given) |
| PhoneMobile | Employee's mobile phone number (not required if home given) |
| Location* | Name of location the employee is applying to. |
| JobTitle* | The position that the employee is applying/applied for. The job title must already exist in the system under the Job Titles tab |
| PayType* | The type of pay (Must be entered as Hourly or Salary. This field is case-sensitive and requires the exact text) |
| PayRate* | Rate of pay of the user |
| TrainingRate | |
| HireDate* | When they can start working (Can be a date or text) |
| HiringManagerUsername* | Hiring manager's username |
| EC_FirstName | Emergency contact's first name |
| EC_LastName | Emergency contact's last name |
| EC_Relationship | Emergency contact's relationship to the employee |
| EC_PhoneHome | Emergency contact's home phone number |
| EC_PhoneMobile | Emergency contact's mobile phone number |
| EC_PhoneWork | Emergency contact's work phone number |
| Terminated | Enter TRUE to set employee's status as Terminated in Electronic Filing Cabinet |
| Incomplete | Enter TRUE to set employee's status as Incomplete on the New Hire Dashboard. Employee receives all configured email notifications including account verification |
| DelayEmail | Enter TRUE to not automatically send account verification email. Must be triggered manually at a later date. |
Job Title Template Fields
*Required Fields
- JobTitle*
- Description
- JobCode
- LaborDistCode