While assigning your JobClock Hornet to your ExakTime Connect account is a simple process, we have some suggested best practices to ensure that your JobClock Hornet is ready before sending it out to your job site. Setting up the JobClock Hornet in the office is easier to do if you have everything in hand.
What You Need Ready
There are only a few things that you will need on hand to fully set up your JobClock Hornet:
- Your JobClock Hornet
- A Phillips-Head screwdriver.
- A keytab assigned to an employee.
Assigning Your JobClock
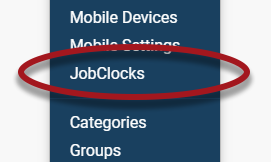
- From the menu bar, go to Manage and click JobClocks.
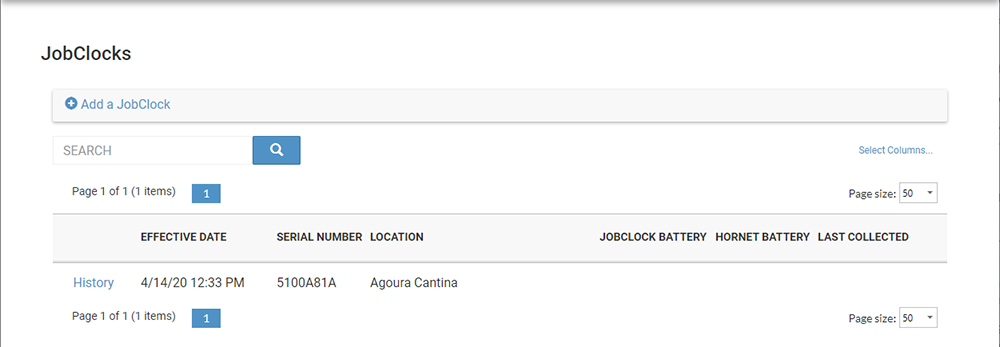
- You will be brought to your JobClock list.
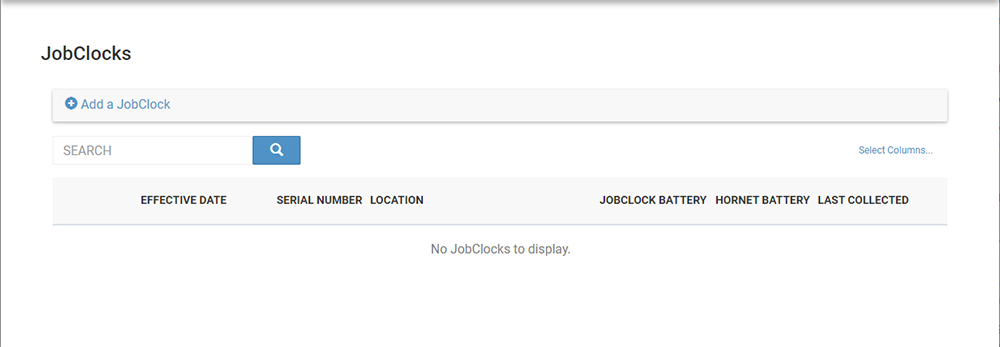
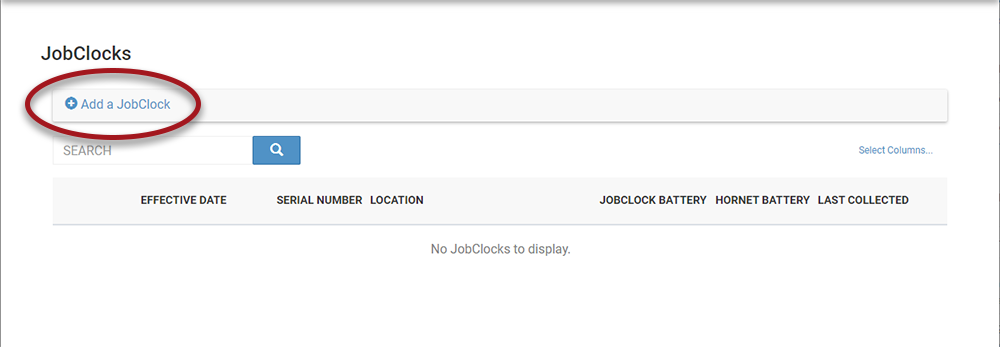
- Click Add a JobClock.
- You will be prompted to enter the serial number for your JobClock and select a location for the JobClock Hornet.
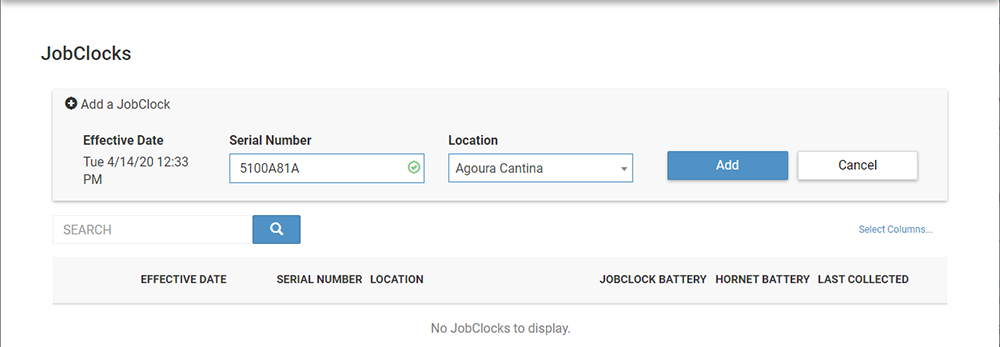
- Enter the Serial Number found on the back of the JobClock.
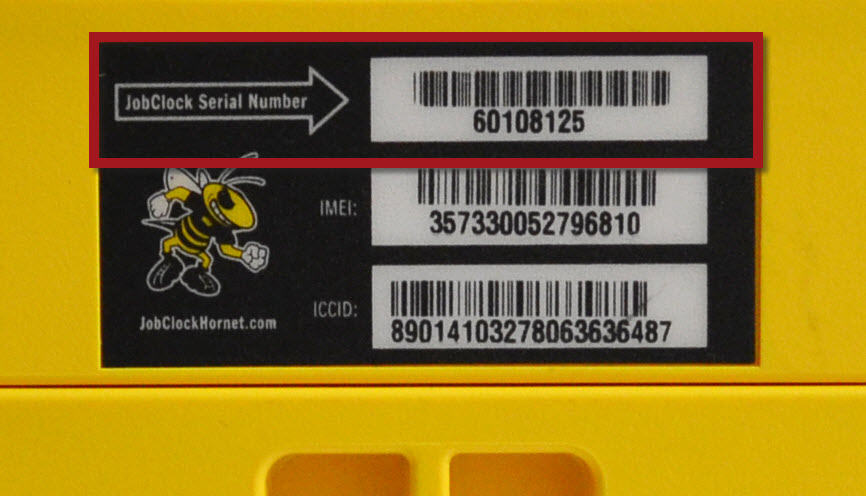
- Click Add when finished.
- The JobClock Hornet will appear in the JobClock list. As it is not yet communicated with the system, the JobClock Battery, Hornet Battery, and Last Collected will be blank.
Turn On Your JobClock Hornet
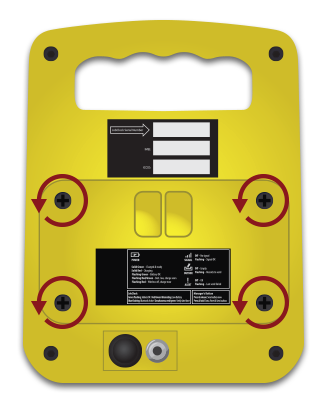
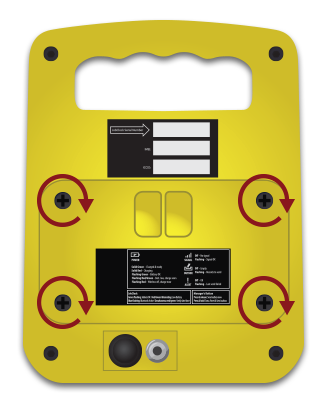
To turn on the JobClock Hornet, we will need to remove the back panel. Flip the JobClock Hornet over where you can see the serial number and use the screwdriver to remove the 4 screws at the corners of the battery door.
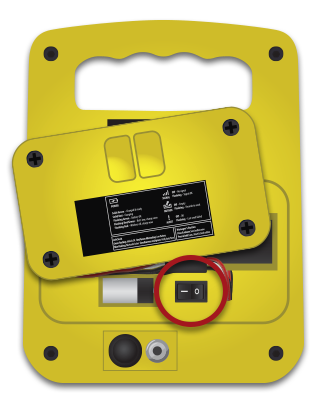
With the battery door removed, we should see the power switch below the batteries. Press the switch so the 1 is pushed down to turn it on.
If you look towards the front of the JobClock, you should notice that the top 4 lights should begin flashing to show that the JobClock Hornet is turning on.

Replace the battery door and reinsert the screws.
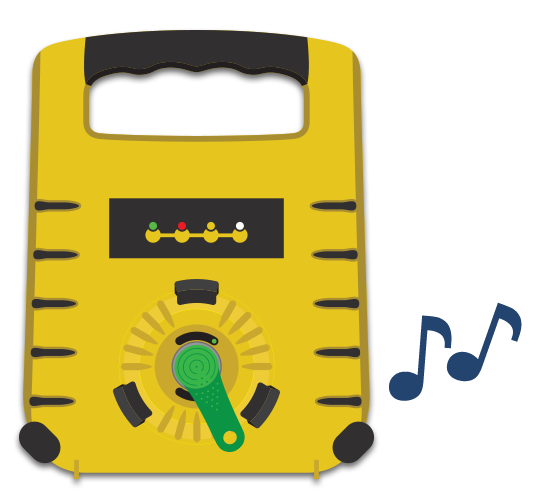
The light pattern on the front will indicate the status of the JobClock Hornet such as the battery level and signal.
When the JobClock Hornet has fully turned on, the first and last light should flash to show that the battery is good and it has signal like below:

If the JobClock Hornet does not have any signal, try to reboot the Hornet near a window or in a location that can provide better signal in your office.
Rebooting Your Hornet
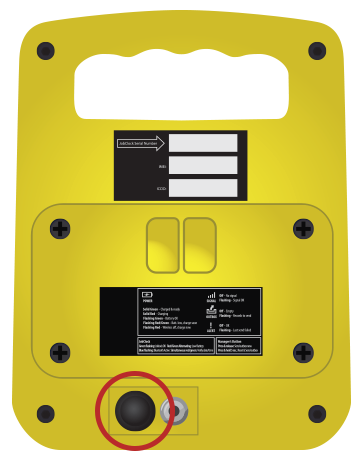
To reboot the Hornet, you will need to look at the back of the Hornet and look for a black button near the charging port. Hold the button down for about 5 seconds, then let go of the button. The lights on the front of the Hornet should begin to flash indicating that it is booting up.
Test Clock In/Out
After you have turned on your JobClock Hornet and confirmed that it has a signal, it is advised to clock in/out on the JobClock to confirm that it is working and sending as expected. If you encounter any unforeseen issues, it can be easier to troubleshoot the JobClock Hornet in the office.
Grab any keytab assigned to an employee and press the metal tip onto the metal touch plate of the JobClock Hornet. There will be a beep sound from the JobClock when it registers the Keytab.
As normally records are sent in batches throughout the day, you can force the JobClock Hornet to send records immediately. This can be done by quickly pressing and releasing the Manager Button found on the back of the JobClock Hornet.
Review Time Card
After your JobClock Hornet has sent your recently created record(s), the time card of the employee assigned to the keytab should populate. If the time card populates as expected with your recently created record, proceed to the next step. If it does not populate, confirm all of the following:
- The JobClock Hornet has been assigned to a location.
- The JobClock Hornet has a signal and is able to send records.
- The keytab is assigned to an employee.
After reviewing and confirming the three items listed above, try clocking in again, sending the record, then reviewing the time card.
JobClock is Ready
When you are able to confirm that the JobClock Hornet is working and has successfully sent records, you are now ready to send that JobClock Hornet to the job site. At this point, if you encounter any trouble with the JobClock Hornet, it would generally be due to a lack of reliable signal at the job site as this guide should have confirmed that the JobClock Hornet is working.
For more information about the JobClock Hornet, please refer to In-Depth: JobClock Hornet